> ## Documentation Index
> Fetch the complete documentation index at: https://docs.magpipe.ai/llms.txt
> Use this file to discover all available pages before exploring further.

# Chat Widget

> Embed an AI-powered chat assistant on your website

## Overview

The Chat Widget brings your AI agent to your website. Visitors see a floating chat bubble that expands into a full conversation interface. They can ask questions, get instant AI responses, and seamlessly hand off to a human when needed - all without leaving your site.
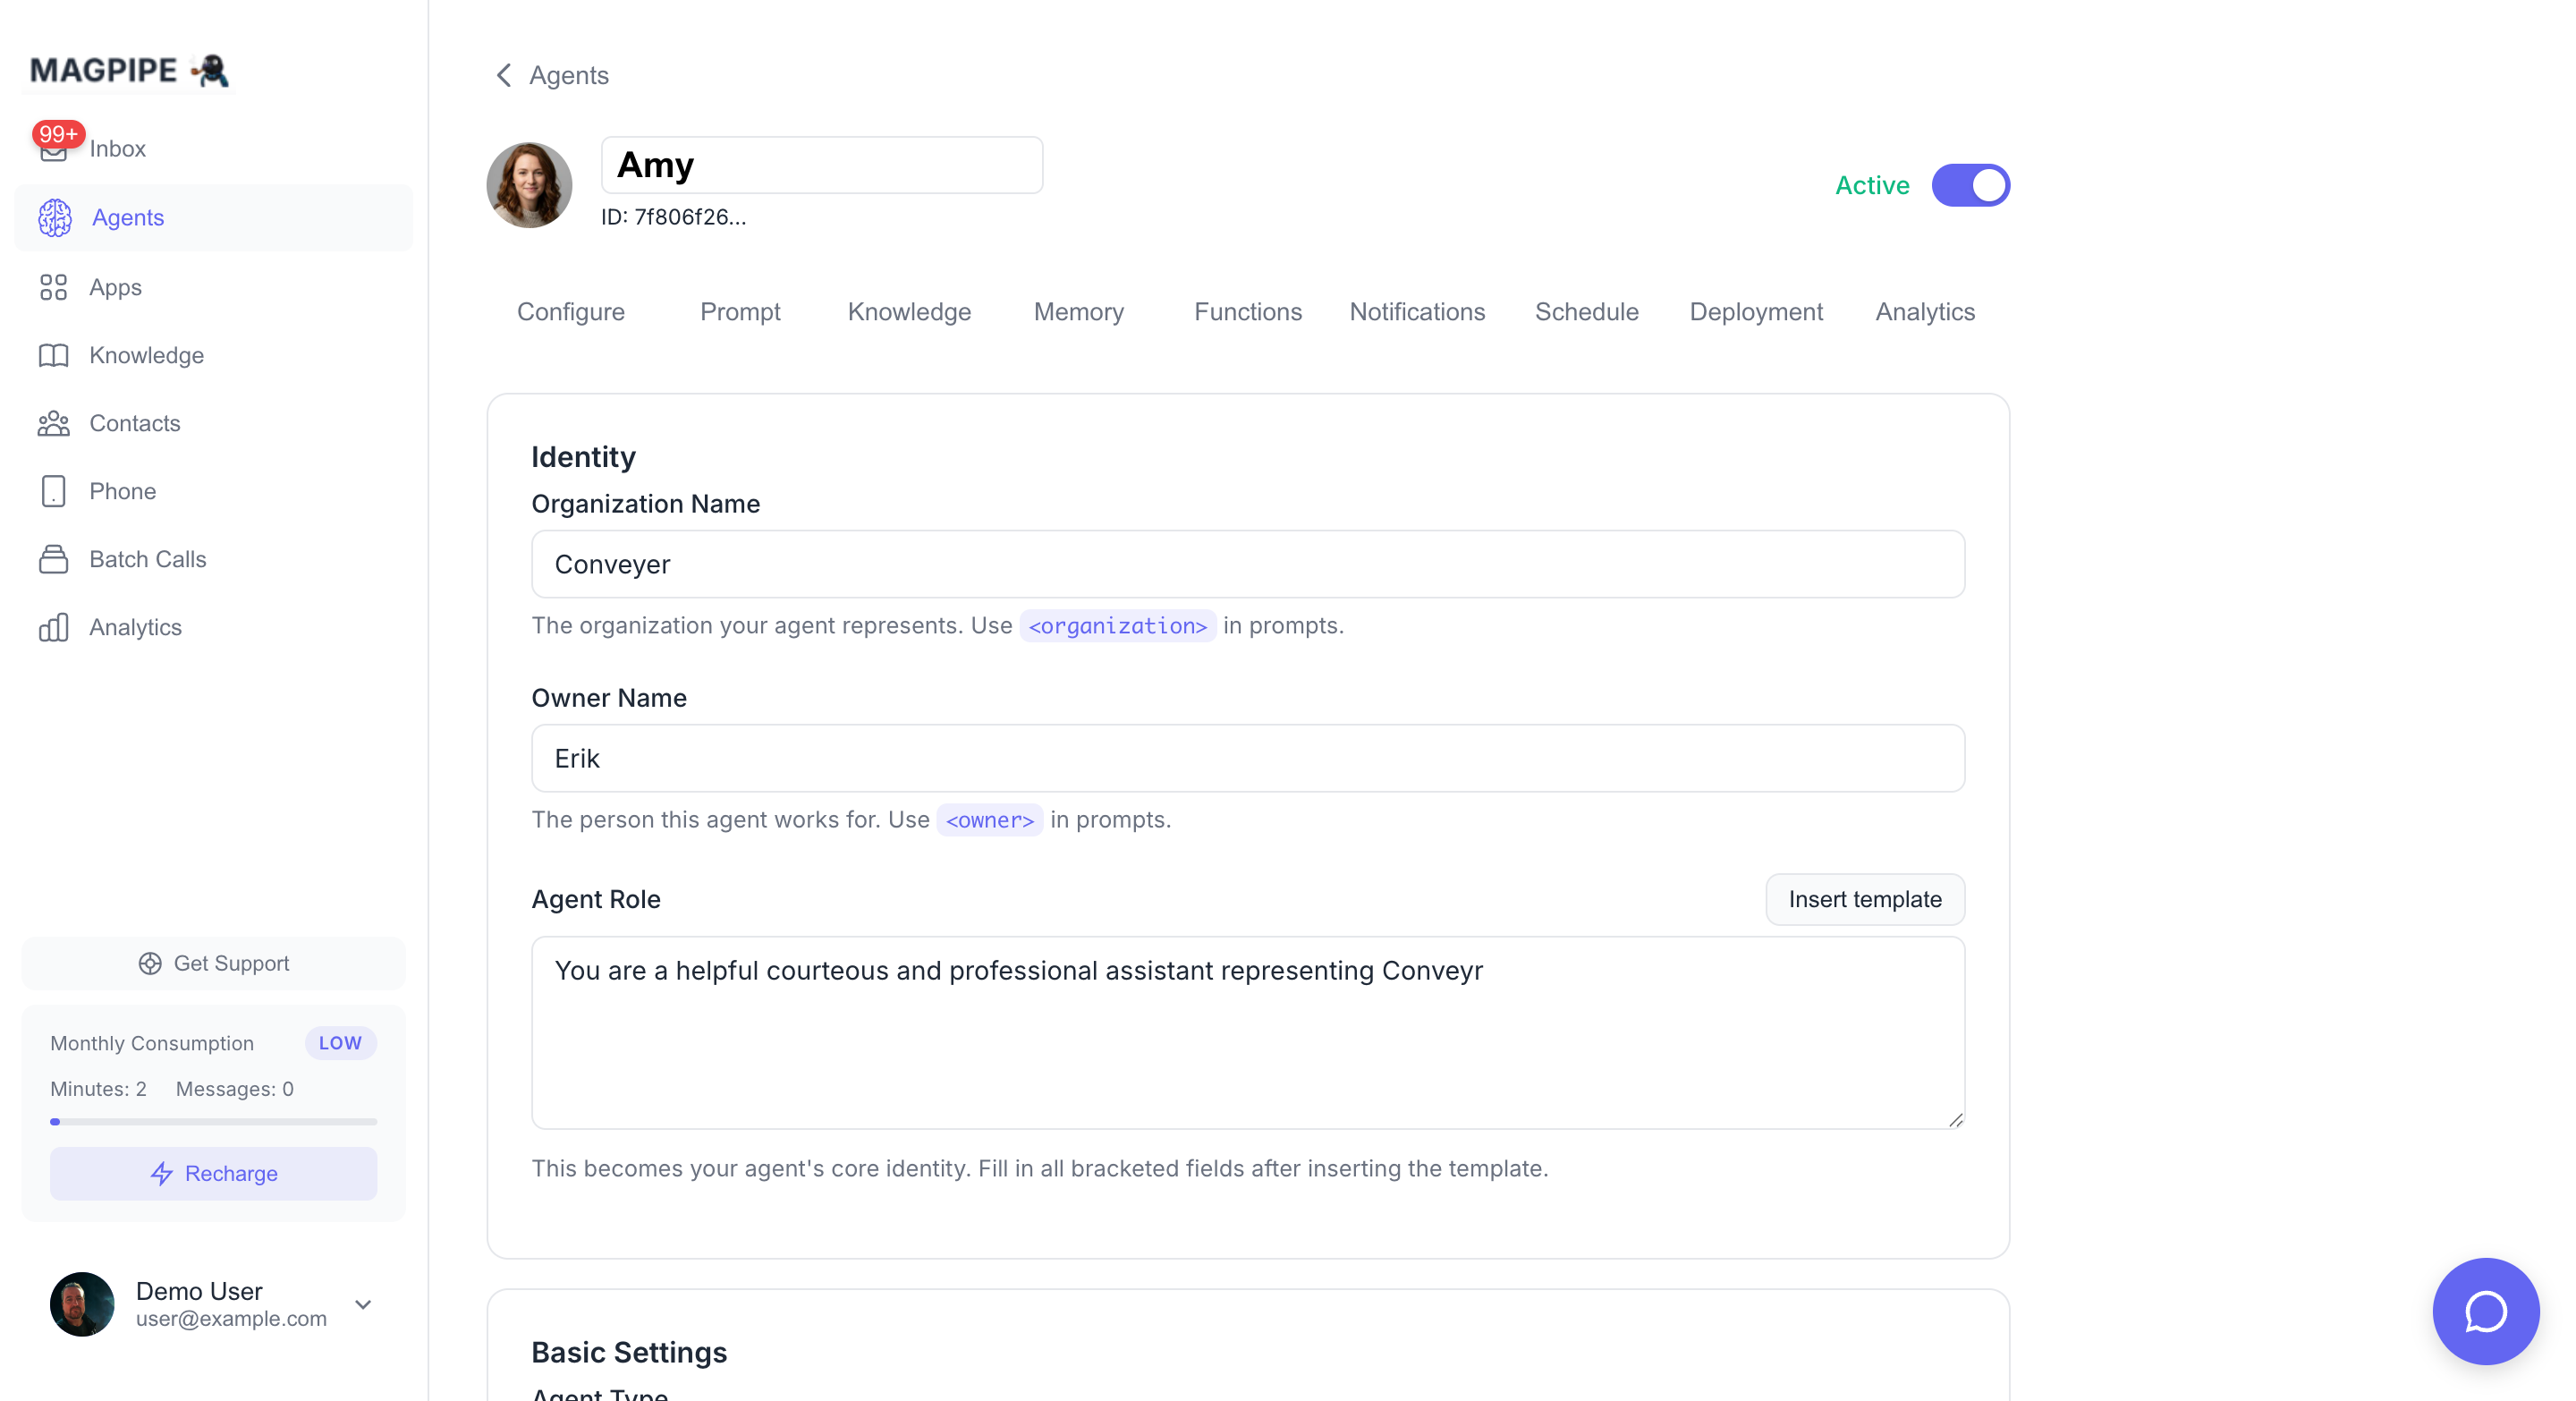
<Frame caption="Configure your chat widget from the Deployment tab in Agent Detail">
  <img src="https://mintlify.s3.us-west-1.amazonaws.com/snapsonic/images/agent-deployment-tab.png" alt="Chat widget configuration" />
</Frame>

## Widget Features

### For Visitors

* **Instant responses** - AI replies in seconds, 24/7
* **Persistent conversations** - Return visits continue the thread
* **Mobile-friendly** - Responsive design on all devices
* **No account required** - Just click and chat

### For You

* **Zero code deployment** - Copy/paste embed snippet
* **Customizable appearance** - Match your brand colors
* **Real-time monitoring** - See chats in your inbox
* **Human takeover** - Jump in anytime to help

## Setting Up a Widget

### From Agent Deploy Tab

<Steps>
  <Step title="Open Agent Detail">
    Go to your agent and click the **Deploy** tab.
  </Step>

  <Step title="Create Widget">
    In the "Web Chat Widget" section, click **Create Widget**.
  </Step>

  <Step title="Customize Appearance">
    Set your brand color, position, and messages.
  </Step>

  <Step title="Get Embed Code">
    Click **Get Embed Code** to copy the JavaScript snippet.
  </Step>

  <Step title="Add to Website">
    Paste the code before the closing `</body>` tag on your pages.
  </Step>
</Steps>

### Embed Code

Add this snippet to your website:

```html theme={null}
<script>
  (function(w,d,s,o,f,js,fjs){
    w['MagpipeWidget']=o;w[o]=w[o]||function(){(w[o].q=w[o].q||[]).push(arguments)};
    js=d.createElement(s);fjs=d.getElementsByTagName(s)[0];
    js.id=o;js.src=f;js.async=1;fjs.parentNode.insertBefore(js,fjs);
  }(window,document,'script','MagpipeChat','https://magpipe.ai/widget/magpipe-chat.js'));
  MagpipeChat('init', { widgetKey: 'YOUR_WIDGET_KEY' });
</script>
```

Replace `YOUR_WIDGET_KEY` with your actual widget key from the dashboard.

### WordPress Installation

1. Go to **Appearance** → **Theme Editor** (or use a plugin like "Insert Headers and Footers")
2. Edit `footer.php` or use the plugin's footer section
3. Paste the embed code before `</body>`
4. Save changes

### Shopify Installation

1. Go to **Online Store** → **Themes** → **Edit Code**
2. Open `theme.liquid`
3. Paste the embed code before `</body>`
4. Save

### Wix Installation

1. Go to your site editor
2. Click **Add** → **Embed** → **Custom Code**
3. Paste the embed code
4. Set to load on "Body - end"
5. Publish

### Squarespace Installation

1. Go to **Settings** → **Advanced** → **Code Injection**
2. Paste in the "Footer" section
3. Save

## Customization Options

### Appearance Settings

| Setting           | Description             | Default            |
| ----------------- | ----------------------- | ------------------ |
| **Primary Color** | Button and header color | `#6366f1` (indigo) |
| **Position**      | Screen corner placement | Bottom-right       |
| **Button Size**   | Chat bubble dimensions  | 60px               |

### Position Options

* **Bottom-right** - Standard, doesn't interfere with navigation
* **Bottom-left** - Alternative for right-heavy layouts

### Messages

| Setting              | Description                   |
| -------------------- | ----------------------------- |
| **Welcome Message**  | First message when chat opens |
| **Offline Message**  | Shown outside business hours  |
| **Placeholder Text** | Input field placeholder       |

**Example Welcome Message:**

```
Hi there! 👋 I'm the AI assistant for Acme Corp.
How can I help you today?
```

**Example Offline Message:**

```
Thanks for reaching out! We're currently closed.
Leave a message and we'll get back to you during business hours.
```

### Visitor Information Collection

Optionally collect visitor details:

| Field     | Optional/Required | Description    |
| --------- | ----------------- | -------------- |
| **Name**  | Optional          | Visitor's name |
| **Email** | Optional          | For follow-up  |

When enabled, visitors see a form before chatting. This information is saved with the conversation.

## Widget Behavior

### Conversation Flow

```
1. Visitor clicks chat bubble
        ↓
2. Widget expands with welcome message
        ↓
3. Visitor types question
        ↓
4. AI generates response (using agent prompt + knowledge)
        ↓
5. Conversation continues
        ↓
6. Session saved to Inbox
```

### Session Persistence

* **Visitor ID** stored in browser localStorage
* Returning visitors see their conversation history
* Sessions expire after 30 days of inactivity
* Clearing browser data resets the session

### Business Hours

If your agent has a schedule configured:

* **During hours**: AI responds normally
* **Outside hours**: Shows offline message, still accepts messages

Messages received outside hours appear in your Inbox for follow-up.

## Viewing Chat Conversations

### In the Inbox

All chat conversations appear in your Inbox:

1. Go to **Inbox**
2. Click **Chat** filter to show only widget conversations
3. Click a conversation to view the full thread
4. Reply to take over from the AI

### Conversation Details

Each chat session shows:

* **Visitor info** (name, email if provided)
* **Page URL** where they started chatting
* **Browser/device** information
* **Full message thread** with timestamps
* **AI indicator** on AI-generated messages

## Human Handoff

### Taking Over a Chat

When you want to respond personally:

1. Open the chat conversation in Inbox
2. Type your message in the reply box
3. Click **Send**

Your message is delivered instantly to the visitor.

### AI Pause Behavior

When you send a manual reply:

* AI immediately pauses for this conversation
* Your messages appear without the AI indicator
* AI resumes after 5 minutes of your inactivity

### Handoff Indicators

* **🤖** = AI-generated response
* **No indicator** = Human response

Visitors see a seamless conversation - they don't know when AI vs human is responding.

## Widget API

### JavaScript Commands

Control the widget programmatically:

```javascript theme={null}
// Open the chat widget
MagpipeChat('open');

// Close the chat widget
MagpipeChat('close');

// Toggle the widget
MagpipeChat('toggle');

// Send a message programmatically
MagpipeChat('sendMessage', 'Hello, I have a question about pricing');

// Set visitor info
MagpipeChat('setVisitor', {
  name: 'John Doe',
  email: 'john@example.com'
});

// Destroy the widget (remove from page)
MagpipeChat('destroy');
```

### Event Callbacks

Listen for widget events:

```javascript theme={null}
MagpipeChat('init', {
  widgetKey: 'YOUR_WIDGET_KEY',
  onOpen: function() {
    console.log('Chat opened');
  },
  onClose: function() {
    console.log('Chat closed');
  },
  onMessage: function(message) {
    console.log('New message:', message);
  }
});
```

### Pre-filled Messages

Start a conversation with context:

```javascript theme={null}
// Link on your page
<a href="#" onclick="MagpipeChat('open'); MagpipeChat('sendMessage', 'I want to learn about your enterprise plan');">
  Contact Sales
</a>
```

## Domain Restrictions

### Why Restrict Domains

Prevent unauthorized use of your widget:

* Someone could embed your widget on their site
* They'd use your AI credits
* Conversations would appear in your inbox

### Setting Allowed Domains

1. Go to widget settings
2. Enter allowed domains (one per line):
   ```
   yoursite.com
   www.yoursite.com
   shop.yoursite.com
   ```
3. Save settings

**Leave empty** to allow the widget on any domain (not recommended for production).

### Localhost for Testing

During development, add:

```
localhost
127.0.0.1
```

Remember to remove these before going live.

## Styling and Theming

### CSS Customization

The widget creates an iframe, but you can style the launcher button:

```css theme={null}
/* Custom bubble position */
#magpipe-chat-widget {
  bottom: 100px !important;
  right: 20px !important;
}

/* Hide on specific pages */
.no-chat #magpipe-chat-widget {
  display: none;
}
```

### Z-Index

The widget uses `z-index: 9999`. If it appears behind other elements, increase z-index of the widget or decrease z-index of conflicting elements.

## Analytics

### Widget Metrics

Track in the dashboard:

* Total chat sessions
* Messages per session (average)
* Response time (AI)
* Handoff rate (AI to human)
* Visitor satisfaction (if collected)

### Google Analytics Integration

Track widget events in GA:

```javascript theme={null}
MagpipeChat('init', {
  widgetKey: 'YOUR_WIDGET_KEY',
  onOpen: function() {
    gtag('event', 'chat_opened', { event_category: 'engagement' });
  },
  onMessage: function(msg) {
    gtag('event', 'chat_message', { event_category: 'engagement' });
  }
});
```

## Troubleshooting

### Widget Not Appearing

1. **Check the embed code** - Ensure it's before `</body>`
2. **Verify widget key** - Must match exactly
3. **Check domain restrictions** - Your domain must be allowed
4. **Check browser console** - Look for JavaScript errors
5. **Check for conflicts** - Other scripts might interfere

### Widget Behind Other Elements

Increase z-index or check for `overflow: hidden` on parent containers.

### Messages Not Sending

1. Check network tab for API errors
2. Verify agent is active
3. Check agent has permission for chat

### Slow Responses

AI response time depends on:

* OpenAI API latency (\~1-3 seconds)
* Knowledge base retrieval (adds \~500ms)
* Network conditions

## Best Practices

### Placement

* **Bottom-right** is conventional and expected
* Don't overlap with other floating elements
* Ensure mobile-friendly on all devices

### Welcome Message

* Keep it short (1-2 sentences)
* Be welcoming but professional
* Set expectations ("I'm an AI assistant...")
* Offer help immediately

### Agent Configuration

For chat, optimize your agent's system prompt:

* Mention it's a website chat (not phone)
* Keep responses concise (2-3 sentences)
* Allow markdown formatting
* Include escalation path ("Would you like me to have someone call you?")

<CardGroup cols={2}>
  <Card title="Create Widget API" icon="plus" href="/api-reference/endpoints/create-chat-widget">
    Create widgets programmatically
  </Card>

  <Card title="List Chat Sessions" icon="messages" href="/api-reference/endpoints/list-chat-sessions">
    Retrieve chat conversations
  </Card>
</CardGroup>
