> ## Documentation Index
> Fetch the complete documentation index at: https://docs.magpipe.ai/llms.txt
> Use this file to discover all available pages before exploring further.
# Quickstart
> Get up and running with Magpipe in 5 minutes
## Create Your Account
Go to [magpipe.ai](https://magpipe.ai) and create an account using your email or phone number.
Enter the verification code sent to your email or phone.
Follow the onboarding wizard to set up your first agent.
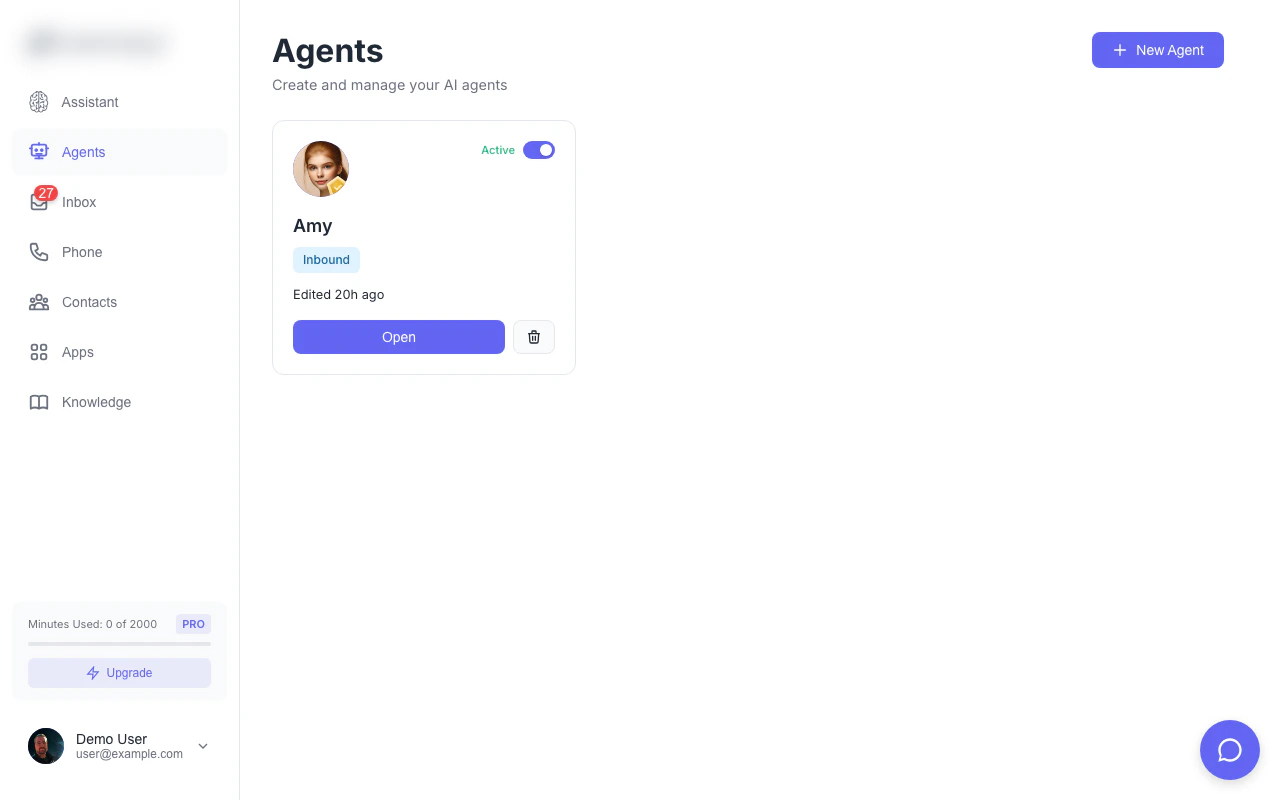 ## Set Up Your First Agent
From the dashboard, tap **Agents** in the bottom navigation.
Tap the **+** button to create a new agent.
* **Name**: Give your agent a name (e.g., "Sarah - Reception")
* **Greeting**: What the agent says when answering calls
* **System Prompt**: Define the agent's personality and knowledge
* **Voice**: Choose from available AI voices
Tap **Save** to create your agent.
## Get a Phone Number
Navigate to **Numbers** from the sidebar or bottom nav.
Tap **Add Number** and search by area code or city.
Select a number and tap **Get This Number** to provision it.
Choose which agent should handle calls to this number.
## Test Your Setup
From any phone, call the number you just provisioned.
Your AI agent will answer and respond based on your configuration.
After the call, go to **Inbox** to see the call recording and transcript.
## Next Steps
Train your agent on your business information
Add AI chat to your website
Sync with HubSpot, Cal.com, and more
Let your agent handle text messages
## Set Up Your First Agent
From the dashboard, tap **Agents** in the bottom navigation.
Tap the **+** button to create a new agent.
* **Name**: Give your agent a name (e.g., "Sarah - Reception")
* **Greeting**: What the agent says when answering calls
* **System Prompt**: Define the agent's personality and knowledge
* **Voice**: Choose from available AI voices
Tap **Save** to create your agent.
## Get a Phone Number
Navigate to **Numbers** from the sidebar or bottom nav.
Tap **Add Number** and search by area code or city.
Select a number and tap **Get This Number** to provision it.
Choose which agent should handle calls to this number.
## Test Your Setup
From any phone, call the number you just provisioned.
Your AI agent will answer and respond based on your configuration.
After the call, go to **Inbox** to see the call recording and transcript.
## Next Steps
Train your agent on your business information
Add AI chat to your website
Sync with HubSpot, Cal.com, and more
Let your agent handle text messages