Overview
The Chat Widget brings your AI agent to your website. Visitors see a floating chat bubble that expands into a full conversation interface. They can ask questions, get instant AI responses, and seamlessly hand off to a human when needed - all without leaving your site.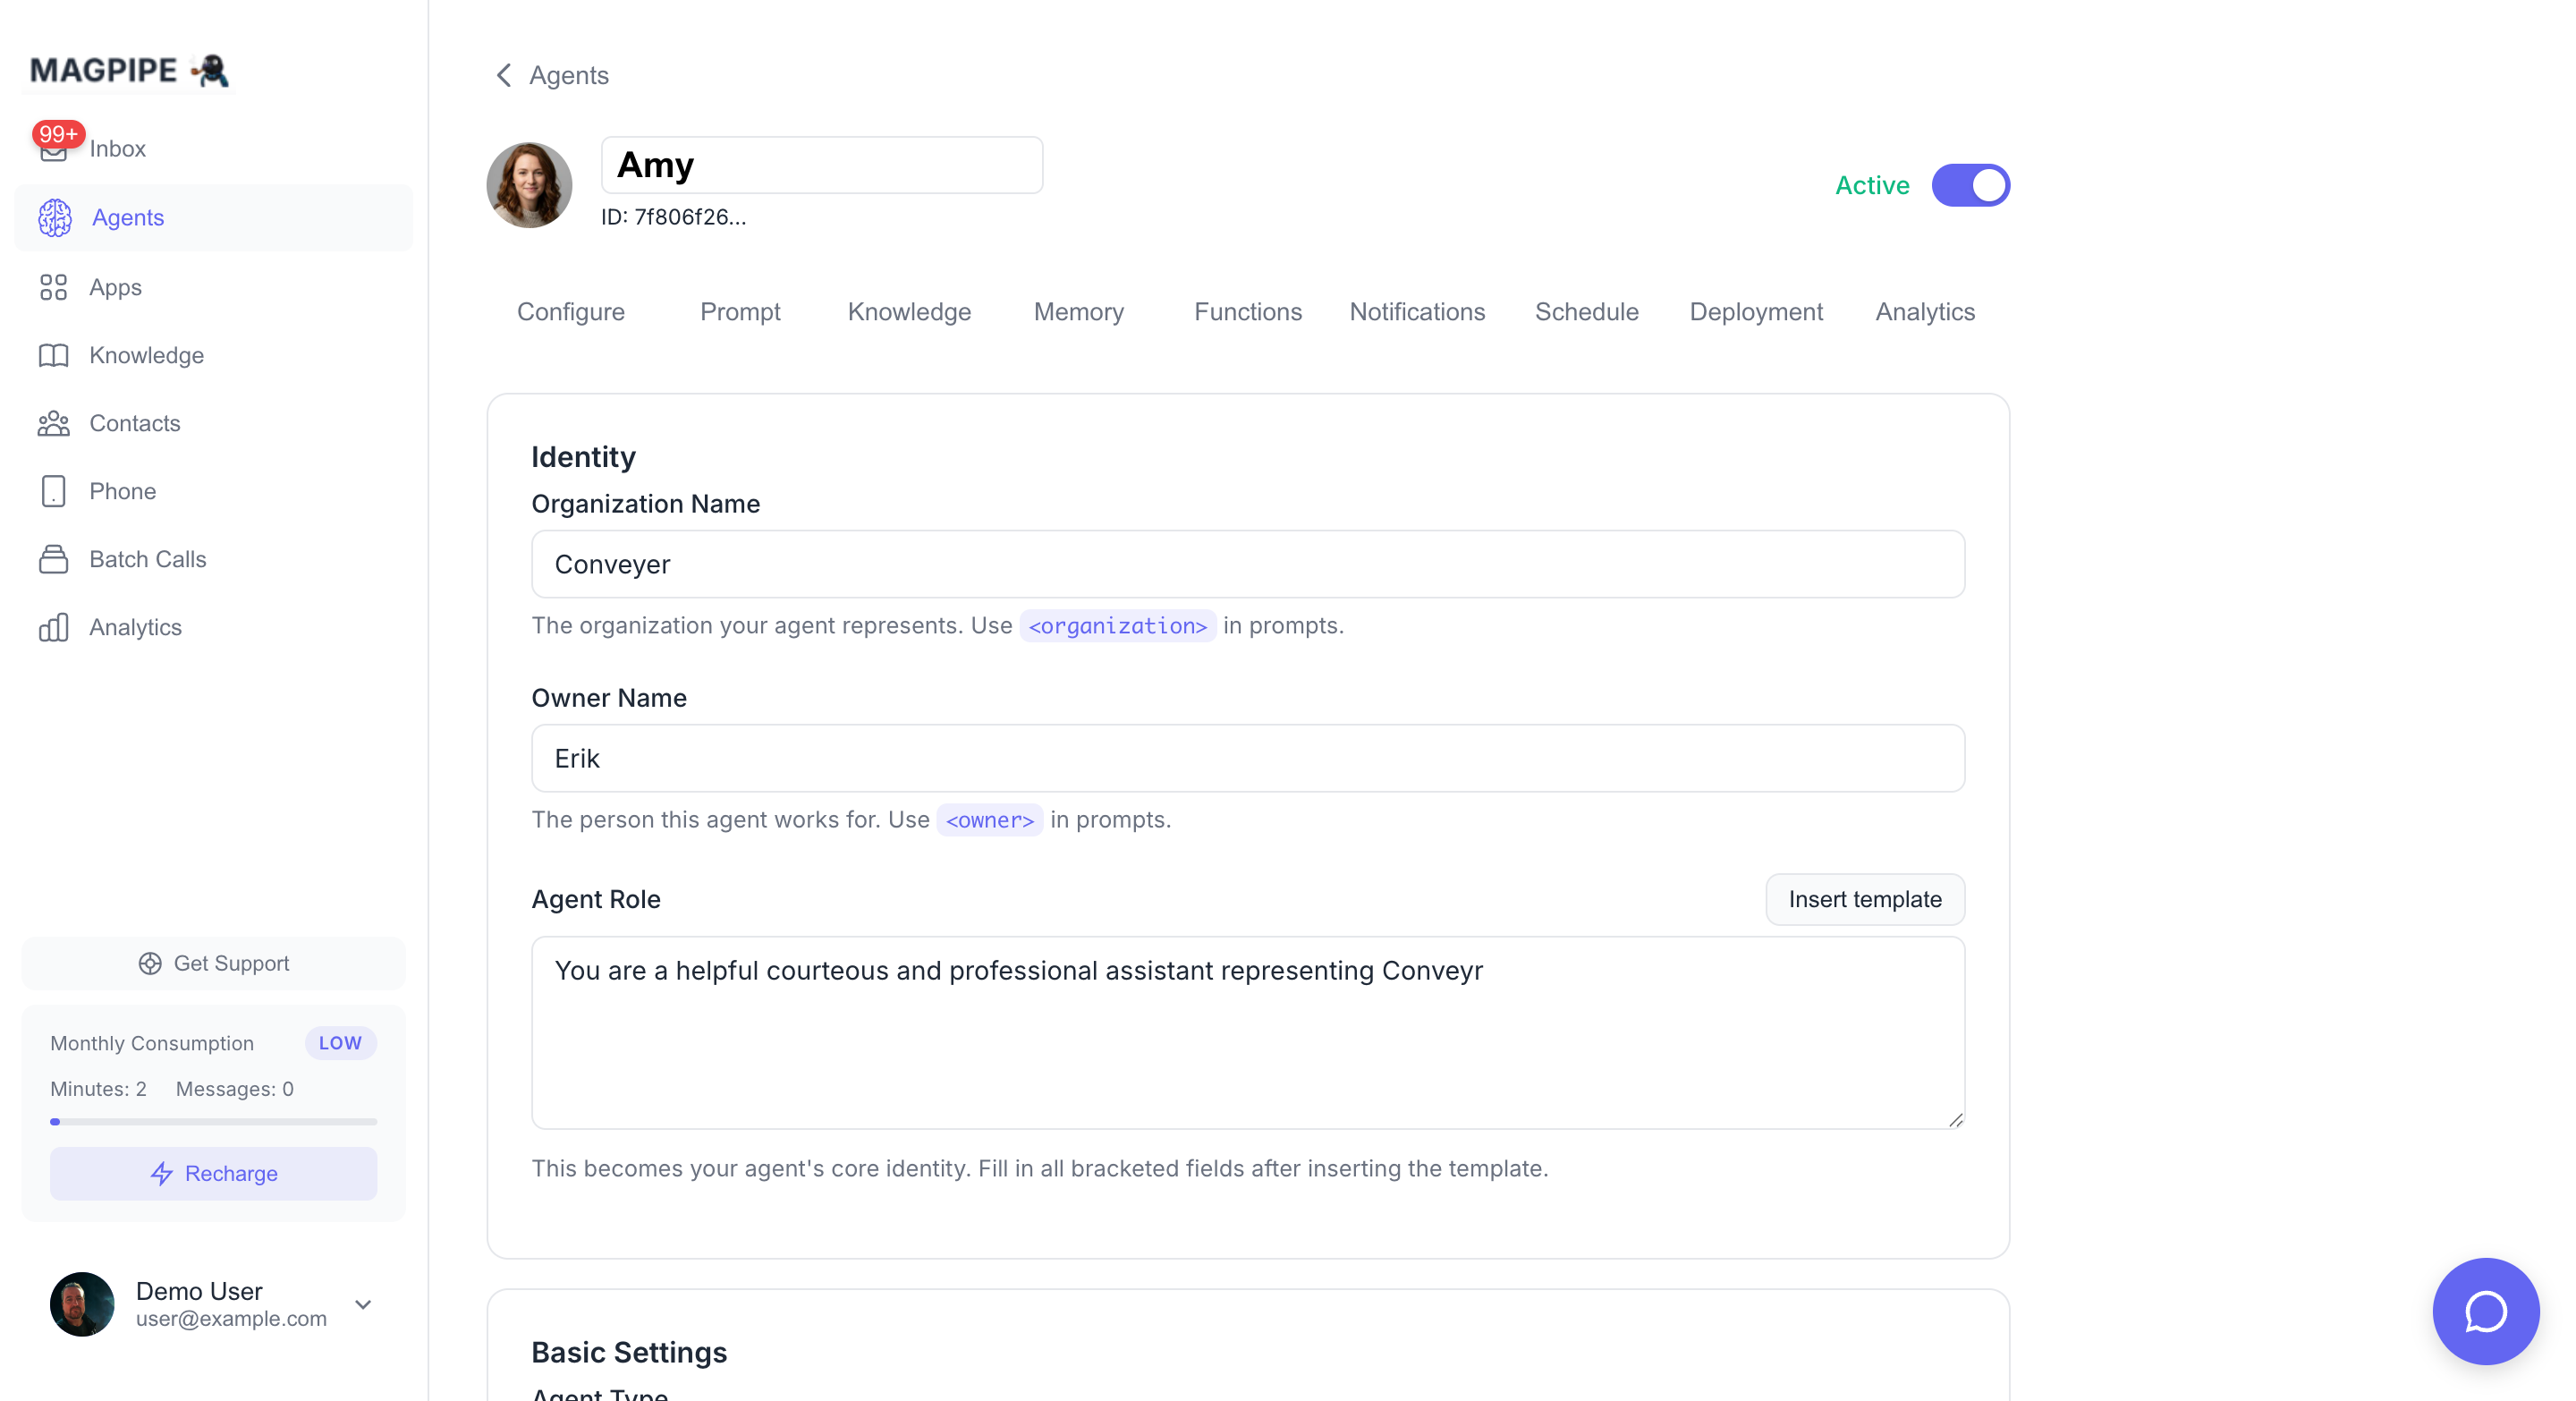
Widget Features
For Visitors
- Instant responses - AI replies in seconds, 24/7
- Persistent conversations - Return visits continue the thread
- Mobile-friendly - Responsive design on all devices
- No account required - Just click and chat
For You
- Zero code deployment - Copy/paste embed snippet
- Customizable appearance - Match your brand colors
- Real-time monitoring - See chats in your inbox
- Human takeover - Jump in anytime to help
Setting Up a Widget
From Agent Deploy Tab
Embed Code
Add this snippet to your website:YOUR_WIDGET_KEY with your actual widget key from the dashboard.
WordPress Installation
- Go to Appearance → Theme Editor (or use a plugin like “Insert Headers and Footers”)
- Edit
footer.phpor use the plugin’s footer section - Paste the embed code before
</body> - Save changes
Shopify Installation
- Go to Online Store → Themes → Edit Code
- Open
theme.liquid - Paste the embed code before
</body> - Save
Wix Installation
- Go to your site editor
- Click Add → Embed → Custom Code
- Paste the embed code
- Set to load on “Body - end”
- Publish
Squarespace Installation
- Go to Settings → Advanced → Code Injection
- Paste in the “Footer” section
- Save
Customization Options
Appearance Settings
| Setting | Description | Default |
|---|---|---|
| Primary Color | Button and header color | #6366f1 (indigo) |
| Position | Screen corner placement | Bottom-right |
| Button Size | Chat bubble dimensions | 60px |
Position Options
- Bottom-right - Standard, doesn’t interfere with navigation
- Bottom-left - Alternative for right-heavy layouts
Messages
| Setting | Description |
|---|---|
| Welcome Message | First message when chat opens |
| Offline Message | Shown outside business hours |
| Placeholder Text | Input field placeholder |
Visitor Information Collection
Optionally collect visitor details:| Field | Optional/Required | Description |
|---|---|---|
| Name | Optional | Visitor’s name |
| Optional | For follow-up |
Widget Behavior
Conversation Flow
Session Persistence
- Visitor ID stored in browser localStorage
- Returning visitors see their conversation history
- Sessions expire after 30 days of inactivity
- Clearing browser data resets the session
Business Hours
If your agent has a schedule configured:- During hours: AI responds normally
- Outside hours: Shows offline message, still accepts messages
Viewing Chat Conversations
In the Inbox
All chat conversations appear in your Inbox:- Go to Inbox
- Click Chat filter to show only widget conversations
- Click a conversation to view the full thread
- Reply to take over from the AI
Conversation Details
Each chat session shows:- Visitor info (name, email if provided)
- Page URL where they started chatting
- Browser/device information
- Full message thread with timestamps
- AI indicator on AI-generated messages
Human Handoff
Taking Over a Chat
When you want to respond personally:- Open the chat conversation in Inbox
- Type your message in the reply box
- Click Send
AI Pause Behavior
When you send a manual reply:- AI immediately pauses for this conversation
- Your messages appear without the AI indicator
- AI resumes after 5 minutes of your inactivity
Handoff Indicators
- 🤖 = AI-generated response
- No indicator = Human response
Widget API
JavaScript Commands
Control the widget programmatically:Event Callbacks
Listen for widget events:Pre-filled Messages
Start a conversation with context:Domain Restrictions
Why Restrict Domains
Prevent unauthorized use of your widget:- Someone could embed your widget on their site
- They’d use your AI credits
- Conversations would appear in your inbox
Setting Allowed Domains
- Go to widget settings
- Enter allowed domains (one per line):
- Save settings
Localhost for Testing
During development, add:Styling and Theming
CSS Customization
The widget creates an iframe, but you can style the launcher button:Z-Index
The widget usesz-index: 9999. If it appears behind other elements, increase z-index of the widget or decrease z-index of conflicting elements.
Analytics
Widget Metrics
Track in the dashboard:- Total chat sessions
- Messages per session (average)
- Response time (AI)
- Handoff rate (AI to human)
- Visitor satisfaction (if collected)
Google Analytics Integration
Track widget events in GA:Troubleshooting
Widget Not Appearing
- Check the embed code - Ensure it’s before
</body> - Verify widget key - Must match exactly
- Check domain restrictions - Your domain must be allowed
- Check browser console - Look for JavaScript errors
- Check for conflicts - Other scripts might interfere
Widget Behind Other Elements
Increase z-index or check foroverflow: hidden on parent containers.
Messages Not Sending
- Check network tab for API errors
- Verify agent is active
- Check agent has permission for chat
Slow Responses
AI response time depends on:- OpenAI API latency (~1-3 seconds)
- Knowledge base retrieval (adds ~500ms)
- Network conditions
Best Practices
Placement
- Bottom-right is conventional and expected
- Don’t overlap with other floating elements
- Ensure mobile-friendly on all devices
Welcome Message
- Keep it short (1-2 sentences)
- Be welcoming but professional
- Set expectations (“I’m an AI assistant…”)
- Offer help immediately
Agent Configuration
For chat, optimize your agent’s system prompt:- Mention it’s a website chat (not phone)
- Keep responses concise (2-3 sentences)
- Allow markdown formatting
- Include escalation path (“Would you like me to have someone call you?”)
Create Widget API
Create widgets programmatically
List Chat Sessions
Retrieve chat conversations