

Overview
This guide walks you through creating and configuring an AI agent from scratch.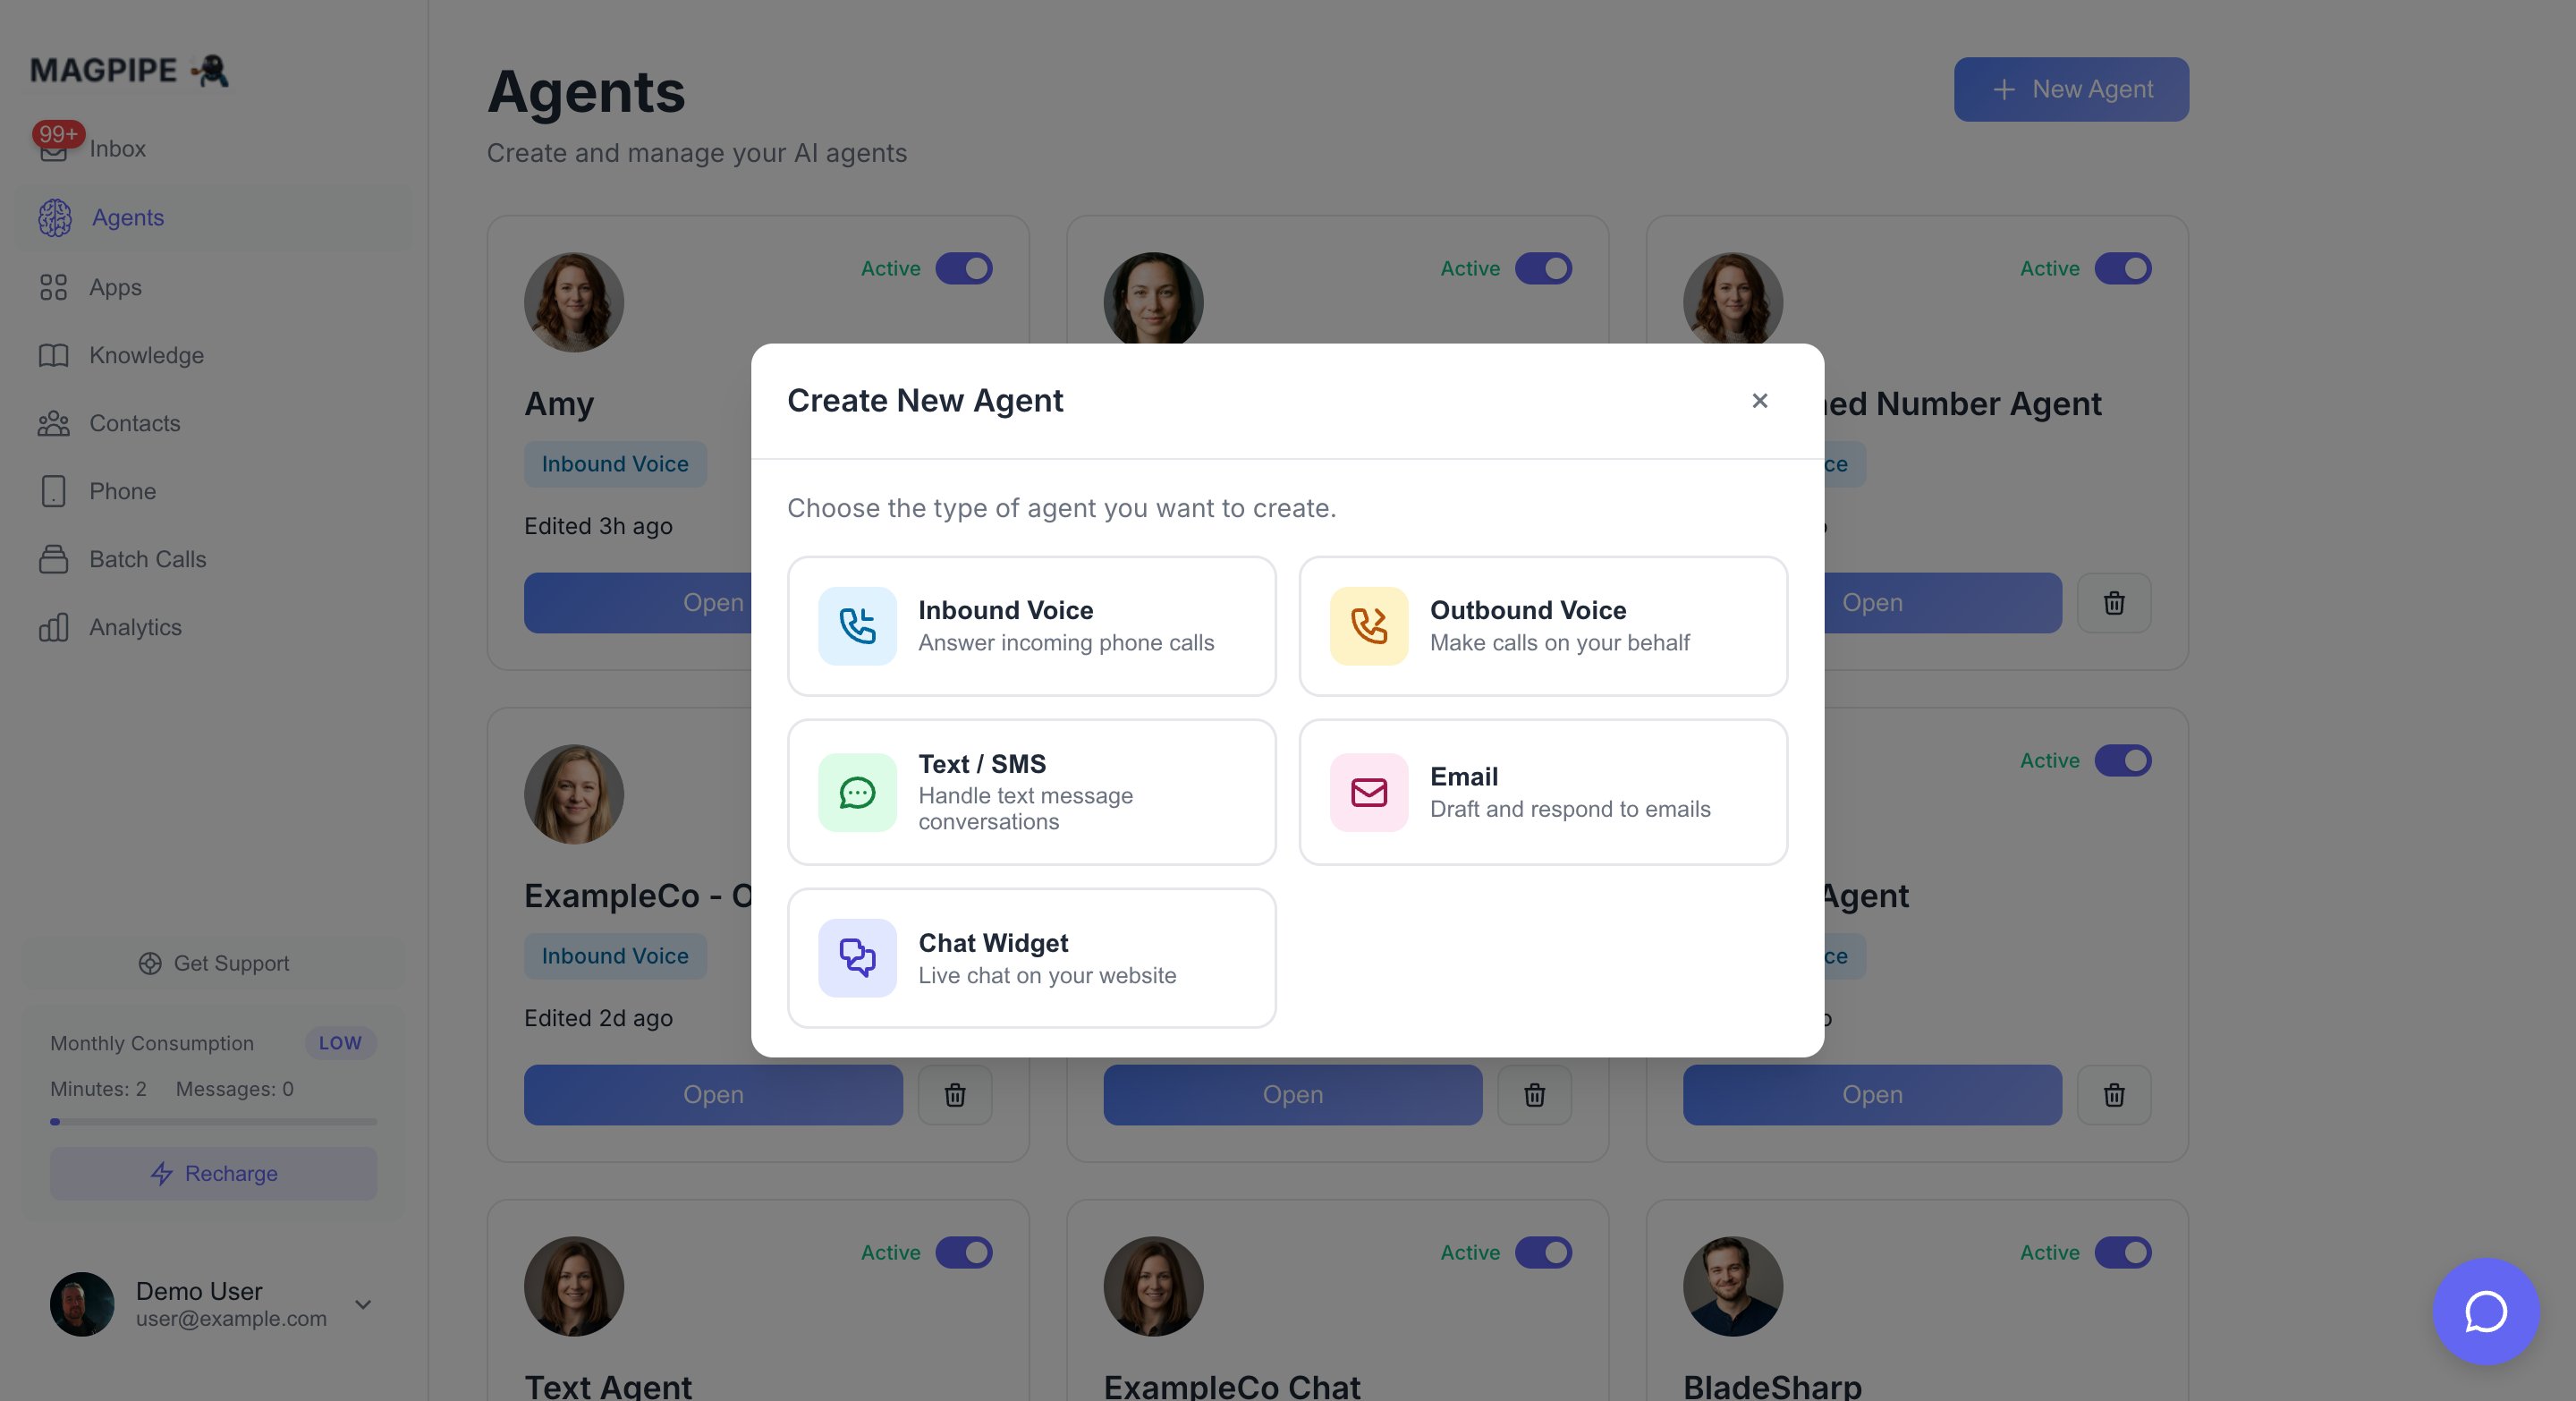
The agent creation modal — choose a name, type, and configure your agent
Step 1: Navigate to Agents
From the dashboard, tap Agents in the bottom navigation bar (mobile) or sidebar (desktop).Step 2: Create New Agent
Tap the + button in the top right to create a new agent.Step 3: Configure Basic Settings
Agent Name
Give your agent a descriptive name that helps you identify it:- “Sarah - Reception”
- “Main Line Agent”
- “After Hours Support”
Greeting Message
This is what the agent says when answering a call:- Warm and welcoming
- Brief (under 15 seconds when spoken)
- Clear about who they’ve reached
Step 4: Write the System Prompt
The system prompt is the most important setting. It defines your agent’s personality, knowledge, and behavior.Template Structure
Example System Prompt
Step 5: Select a Voice
Choose an AI voice for phone calls:- Tap Voice to open the voice selector
- Preview different voices by tapping the play button
- Select the voice that fits your brand
- Male vs female voice
- Formal vs casual tone
- Regional accent if relevant
Step 6: Save Your Agent
Tap Save to create the agent. You can always edit settings later.Step 7: Deploy Your Agent
Your agent needs somewhere to work:Assign to Phone Number
- Go to the Deploy tab
- Under “Phone Numbers”, tap Assign Number
- Select an existing number or provision a new one
Create Chat Widget
- Go to the Deploy tab
- Under “Web Chat Widget”, tap Create Widget
- Copy the embed code to your website
Testing Your Agent
Test via Phone
Call the assigned number and have a conversation with your agent.Test via Chat
Use the Admin Chat feature to test responses without making a call:- Open your agent
- Tap the chat icon in the header
- Type messages to test responses
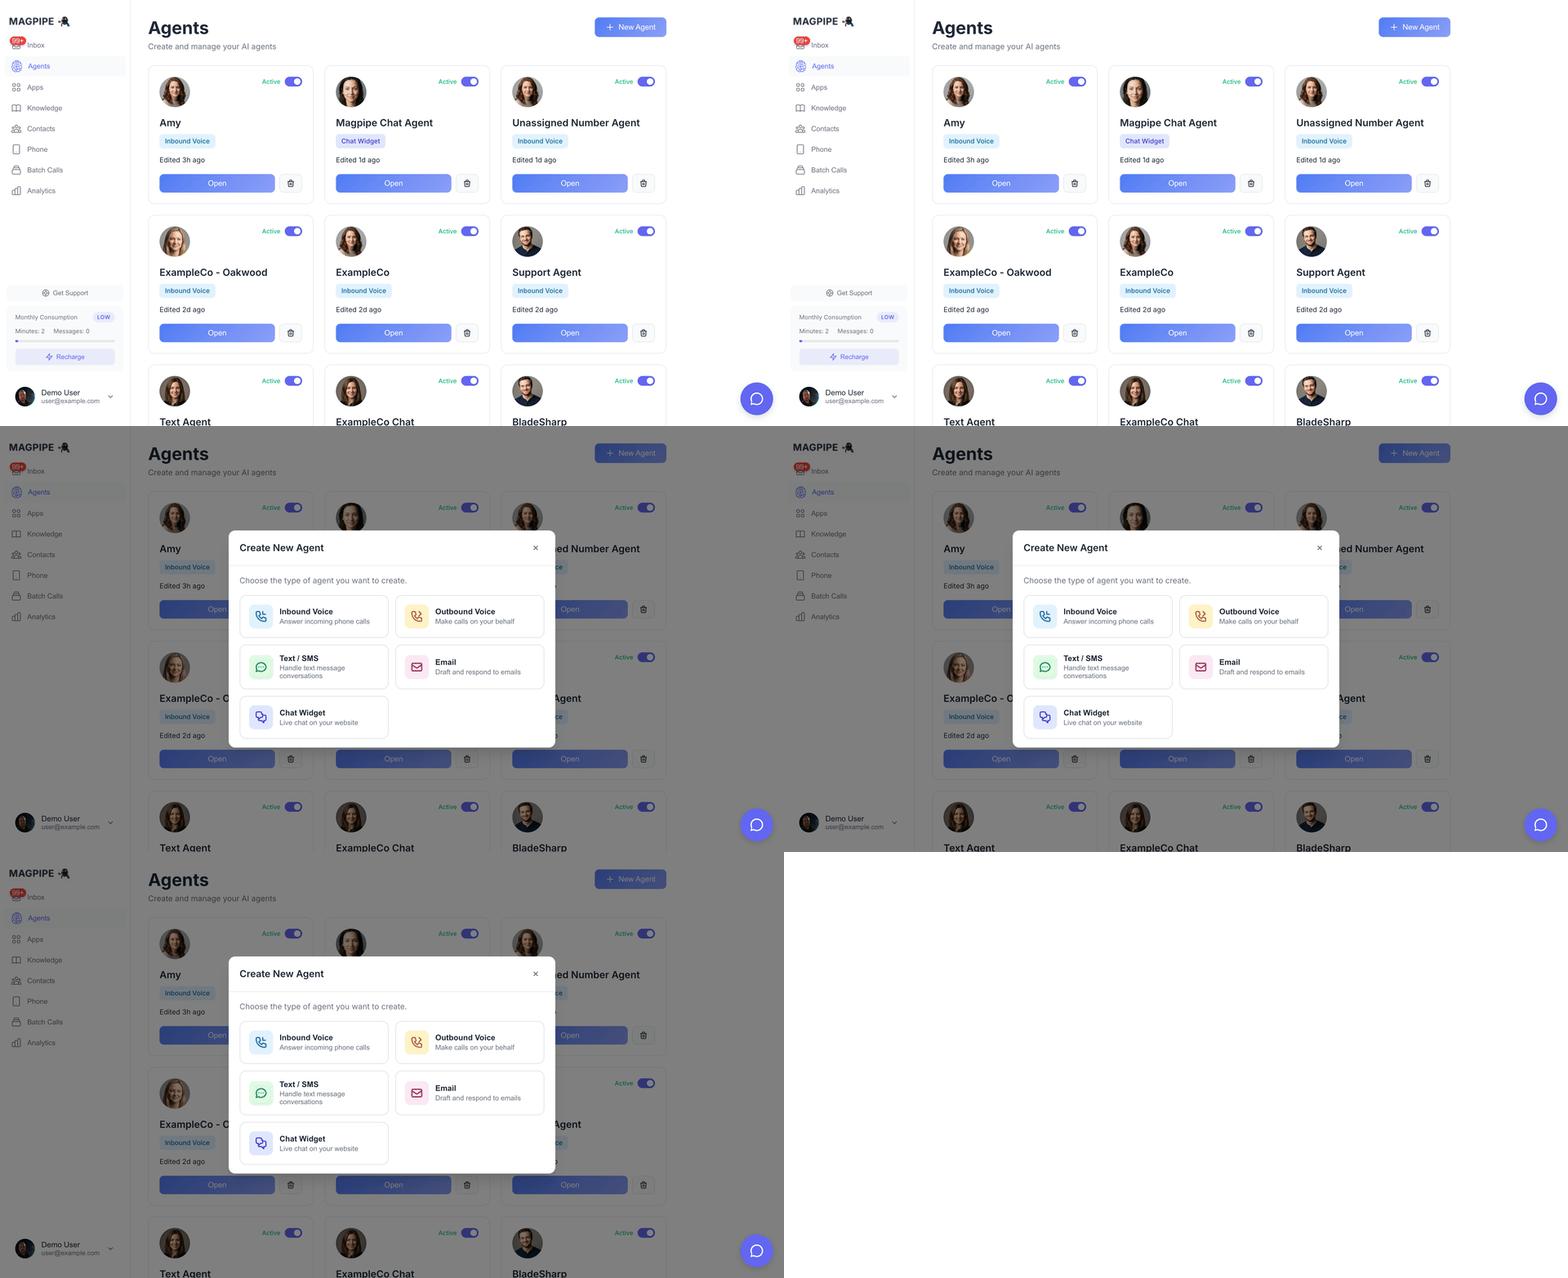
Watch the full agent creation flow
Next Steps
Add Knowledge
Give your agent more context about your business
Connect Apps
Enable calendar booking and CRM sync