Overview
Team Management lets you collaborate with others on your AI phone system. Create an organization, invite team members, and assign roles to control who can do what. Perfect for agencies managing multiple clients, businesses with support teams, or anyone who needs multiple people accessing the dashboard.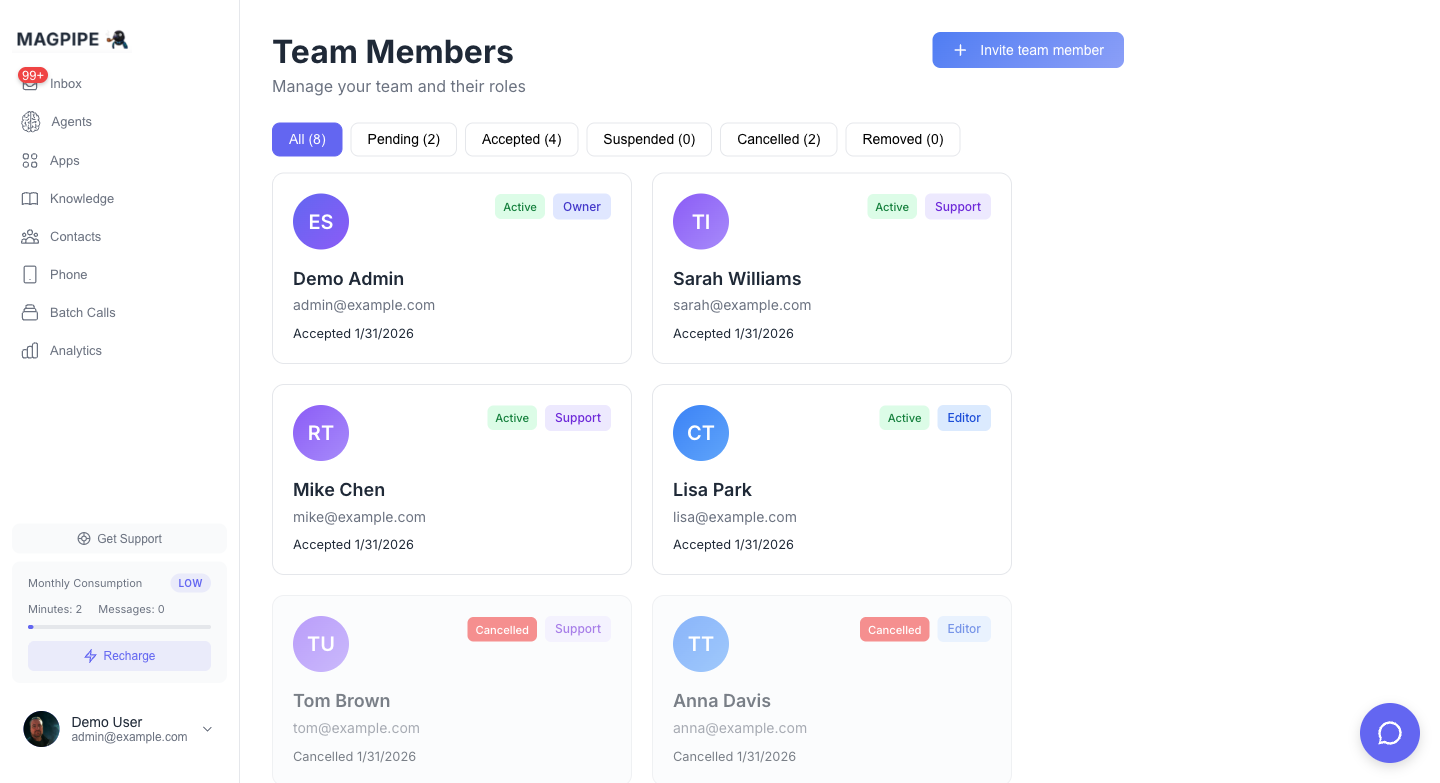
Organizations
What is an Organization?
An organization is a shared workspace where multiple users can collaborate:- Share agents across the team
- Share phone numbers
- View shared inbox
- Access shared contacts
- Collaborate on knowledge base
Creating an Organization
Enter Details
- Name: Your organization name (e.g., “Acme Corp”)
- Description (optional): What this organization is for
Organization Settings
As an Owner or Admin, you can configure:| Setting | Description |
|---|---|
| Name | Organization display name |
| Description | Internal notes about the org |
| Logo | Custom logo for branding |
| Default Agent | Which agent handles unassigned numbers |
Team Roles
Role Hierarchy
Magpipe uses three roles with different permission levels:| Role | Description |
|---|---|
| Owner | Full control. Can delete org, manage billing, manage team. |
| Editor | Full access to resources. Can create, edit, and manage agents, numbers, and knowledge. |
| Support | View and edit access. Can view resources and respond to messages but cannot delete. |
Permission Matrix
| Permission | Owner | Editor | Support |
|---|---|---|---|
| View agents | ✓ | ✓ | ✓ |
| Create/edit agents | ✓ | ✓ | ✗ |
| Delete agents | ✓ | ✓ | ✗ |
| View inbox | ✓ | ✓ | ✓ |
| Reply to messages | ✓ | ✓ | ✓ |
| View phone numbers | ✓ | ✓ | ✓ |
| Provision numbers | ✓ | ✓ | ✗ |
| Release numbers | ✓ | ✓ | ✗ |
| Manage knowledge base | ✓ | ✓ | ✗ |
| View contacts | ✓ | ✓ | ✓ |
| Edit contacts | ✓ | ✓ | ✓ |
| View apps | ✓ | ✓ | ✓ |
| Configure apps | ✓ | ✓ | ✗ |
| Invite team members | ✓ | ✗ | ✗ |
| Remove team members | ✓ | ✗ | ✗ |
| Change member roles | ✓ | ✗ | ✗ |
| Manage billing | ✓ | ✗ | ✗ |
| Delete organization | ✓ | ✗ | ✗ |
| Transfer ownership | ✓ | ✗ | ✗ |
Inviting Team Members
Sending Invitations
Invitation Process
- Email sent: Recipient gets an email with invitation link
- Link clicked: They’re directed to sign up or log in
- Auto-joined: They’re automatically added to your organization
- Access granted: They can immediately access shared resources
Invitation Expiry
- Invitations expire after 60 days
- Expired invitations can be resent from the team list
- Pending invitations show in the team list with expiry status
- Invitations can be cancelled by the Owner
Resending Invitations
If someone didn’t receive or lost their invitation:- Go to Settings → Team
- Find the pending invitation
- Click Resend
Managing Team Members
Viewing the Team
Go to Settings → Team to see:- All organization members
- Their roles
- Join date
- Last active
Changing Roles
To change someone’s role:- Find them in the team list
- Click their current role
- Select the new role
- Confirm the change
Only Owners can change team member roles.
Removing Members
To remove someone from the organization:- Find them in the team list
- Click Remove
- Confirm removal
- Immediate loss of access
- Their personal account remains
- Data they created stays in the org
- They can be re-invited later
Ownership
Transferring Ownership
As an Owner, you can transfer ownership to another member:- Go to Settings → Team
- Find the member
- Click Transfer Ownership
- Confirm the transfer
- You become an Editor
- They become the new Owner
- All Owner permissions transfer
Leaving an Organization
As an Editor or Support member:- Go to Settings → Team
- Click Leave Organization
- Confirm
Agency & Reseller Use Cases
Managing Multiple Clients
For agencies managing multiple businesses: Option 1: Separate Organizations- Create one organization per client
- Invite client as Member (view only) or Admin
- You maintain Owner access for management
- One organization with multiple agents
- Each agent represents a client’s business
- Team members see all agents
Client Access Levels
Recommended role assignments:| Client Type | Recommended Role |
|---|---|
| Hands-off client | No access (you manage everything) |
| View-only client | Support |
| Self-service client | Editor |
| Full control client | Owner (you become Editor) |
White Label + Teams
Combine with White Labeling for a complete agency setup:- Custom branding on their login
- Your logo and colors
- Client sees their own dashboard
- No “Magpipe” branding
Best Practices
Security
- Use least privilege: Give members only the access they need
- Regular audits: Review team members quarterly
- Remove promptly: Remove access when someone leaves
- Protect Owner account: Use strong password and 2FA
Organization Structure
- One org per business: Don’t mix unrelated businesses
- Clear naming: Use descriptive organization names
- Document roles: Keep internal notes on who does what
- Single Owner: Have one clear Owner for accountability
Onboarding New Members
- Send invitation with context about the role
- Provide documentation on how to use the system
- Start with limited access (Member role)
- Upgrade as needed based on responsibilities
Troubleshooting
Invitation Not Received
- Check spam/junk folder
- Verify email address is correct
- Resend the invitation
- Try a different email address
Cannot Access Resources
If a team member cannot access expected resources:- Verify they accepted the invitation
- Check their assigned role
- Confirm they’re in the correct organization
- Check if the resource exists (agent, number, etc.)
Multiple Organizations
Users can belong to multiple organizations:- Switch between orgs in the account menu
- Each org has separate resources
- Roles are independent per organization
White Labeling
Custom branding for agencies
Settings
Account and organization settings