Overview
Contacts stores information about people who call, text, chat with, or email your AI agents. Build a database of customers with names, emails, phone numbers, company info, and conversation history. Contacts are created automatically from incoming communications or manually.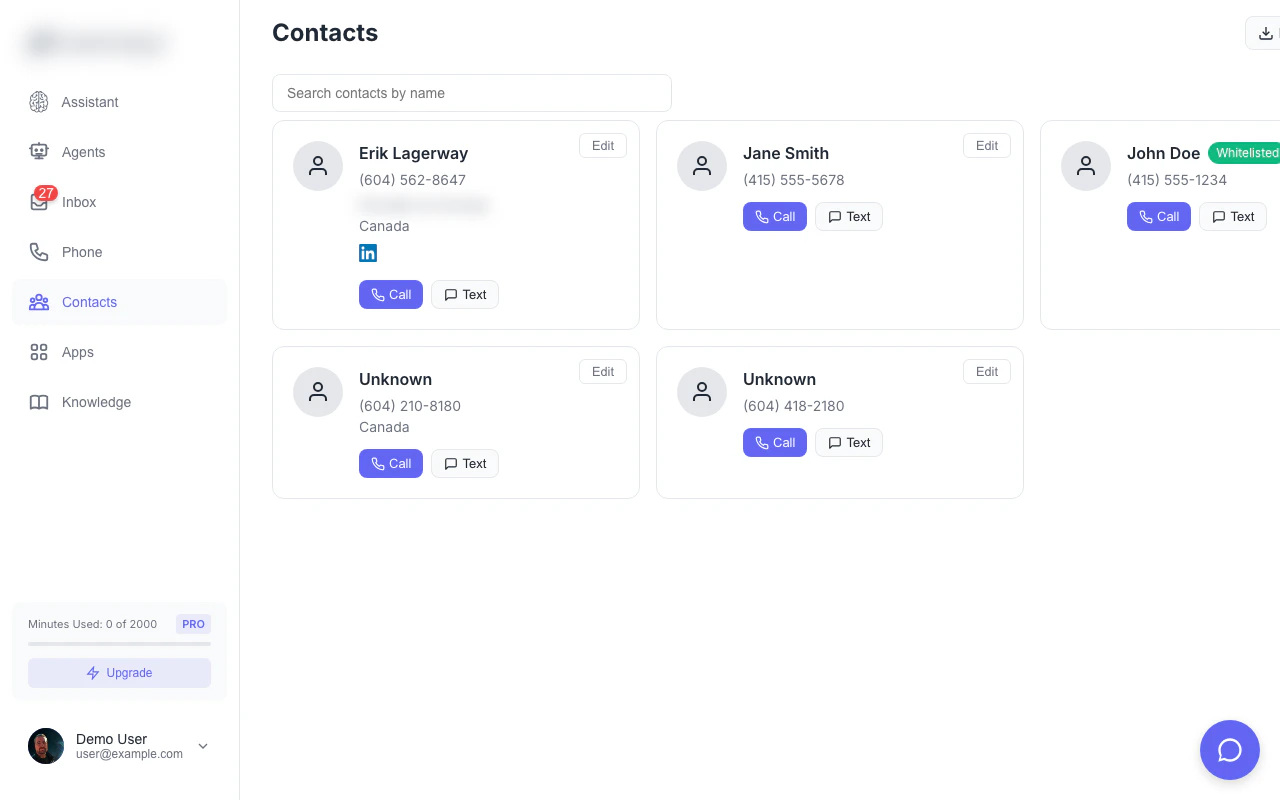
Contact Features
Automatic Creation
When someone new contacts you:- A contact is automatically created
- Phone number or email is saved
- Name added if mentioned during conversation
- All communications linked to this contact
Email Enrichment
When an email arrives from a new sender:- Contact data is automatically looked up (company, phone, job title, LinkedIn, Twitter)
- If the sender already exists as a phone contact, their record is updated with email data
- No duplicates created — phone and email contacts are automatically merged
Contact Information
Each contact can include:| Field | Description | Auto-Populated |
|---|---|---|
| Phone Number | Primary phone (E.164 format) | ✓ |
| First Name | First name | Sometimes |
| Last Name | Last name | Sometimes |
| Email address | ✓ (from email) | |
| Company | Organization name | ✓ (from enrichment) |
| Job Title | Role at company | ✓ (from enrichment) |
| Address | Mailing address | ✓ (from enrichment) |
| LinkedIn profile URL | ✓ (from enrichment) | |
| Twitter profile URL | ✓ (from enrichment) | |
| Facebook profile URL | ✓ (from enrichment) | |
| Avatar | Profile photo | ✓ (from enrichment) |
| Notes | Free-form notes | ✗ |
| Created | When contact was added | ✓ |
Conversation History
Every contact shows their complete communication history:- All phone calls (with recordings)
- All SMS/MMS messages
- All chat conversations
- All email threads
- Timestamps and duration
Managing Contacts
Viewing Contacts
- Go to Contacts from the main navigation
- See all contacts in a card list view
- Search by name, phone, or email
- Each card shows avatar, name, phone, email, and company
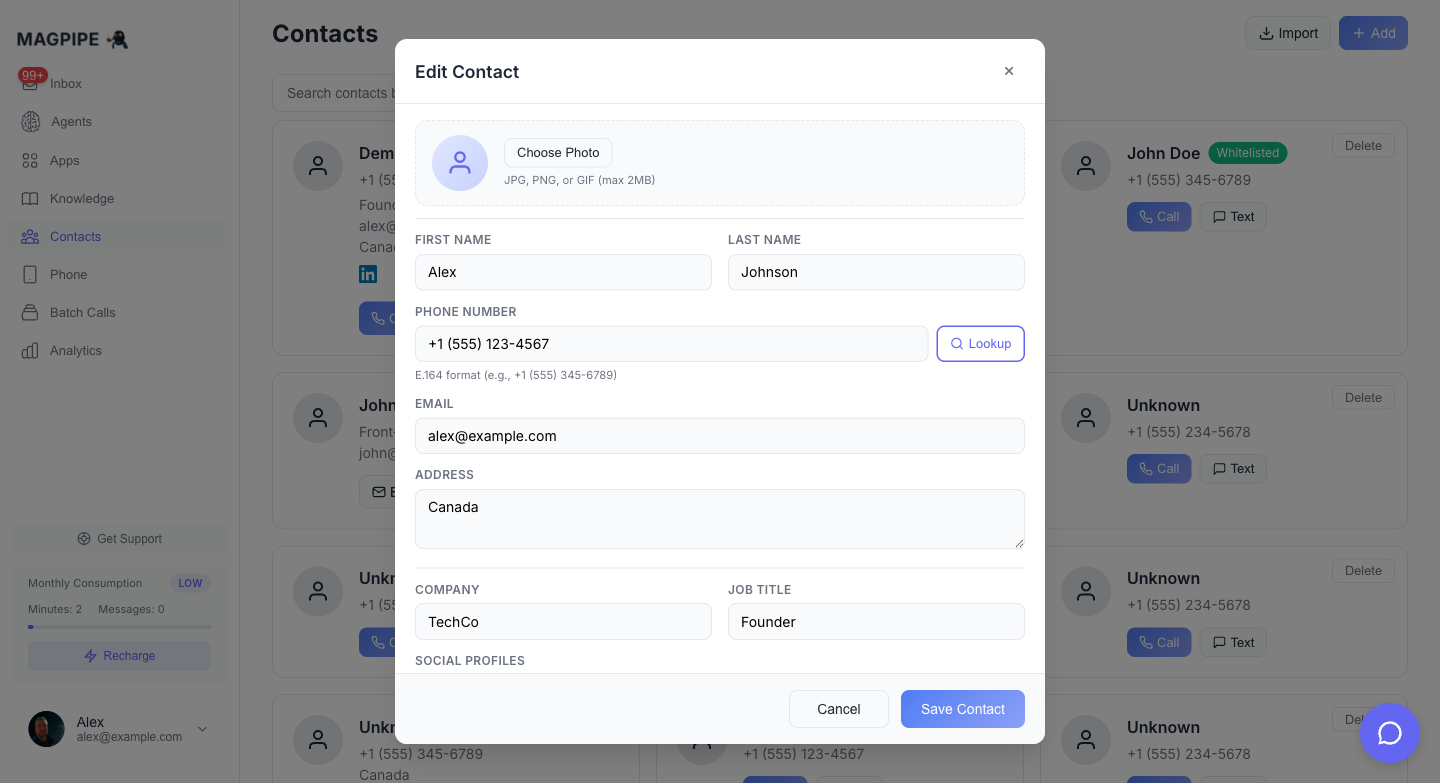
Editing a Contact
Click on any contact card to open the edit form:- Update name, email, phone, company, job title, address
- Add notes
- Social profile links (LinkedIn, Twitter, Facebook)
- Save changes with the footer button
Quick Actions
Each contact card has quick action buttons:- Call — Start an outbound call to this contact
- Text — Open SMS composer
- Delete — Remove the contact (with confirmation)
Creating Contacts
Automatic Creation
Contacts are created automatically when:- Someone calls your agent for the first time
- Someone texts your number for the first time
- Someone starts a chat session
- An email arrives from a new sender
- Name (if caller provides it)
- Email (if collected in conversation)
- Other details mentioned
Manual Creation
Create contacts manually:Enter Information
Fill in the contact details:
- First name and last name
- Phone number
- Company and job title
- Address
- Notes
Bulk Import
Import multiple contacts at once:- Go to Contacts
- Click Import CSV
- Upload a CSV file
- Map columns to fields
- Review and confirm
phone- Phone number (E.164 or local format)
name- Full name or first nameemail- Email addresscompany- Company namenotes- Any notes
Searching Contacts
Quick Search
Use the search bar to find contacts by:- Phone number (full or partial)
- Name
- Company name
Deleting Contacts
To delete:- Click the Delete button on the contact card
- Confirm deletion in the modal
Integration with Other Features
Inbox
When viewing a conversation:- Contact info shown in conversation header
- Avatar, name, job title, and social links displayed
- All conversations linked to that contact
Outbound Calls
Use contacts for outbound calls:- Click the Call button on any contact card
- AI agent calls with contact context
Call Context
When a known contact calls:- Agent sees their name
- Agent has access to conversation history
- Previous notes available for context
- Personalized greeting possible
HubSpot Sync
With HubSpot connected:- Create contacts in HubSpot via agent tools
- Search HubSpot contacts during calls
- Add notes to HubSpot contact records
API Access
List Contacts
Create Contact
Update Contact
Contacts API
Full API documentation
Inbox
View contact conversations
Email Integration
Email contact enrichment